
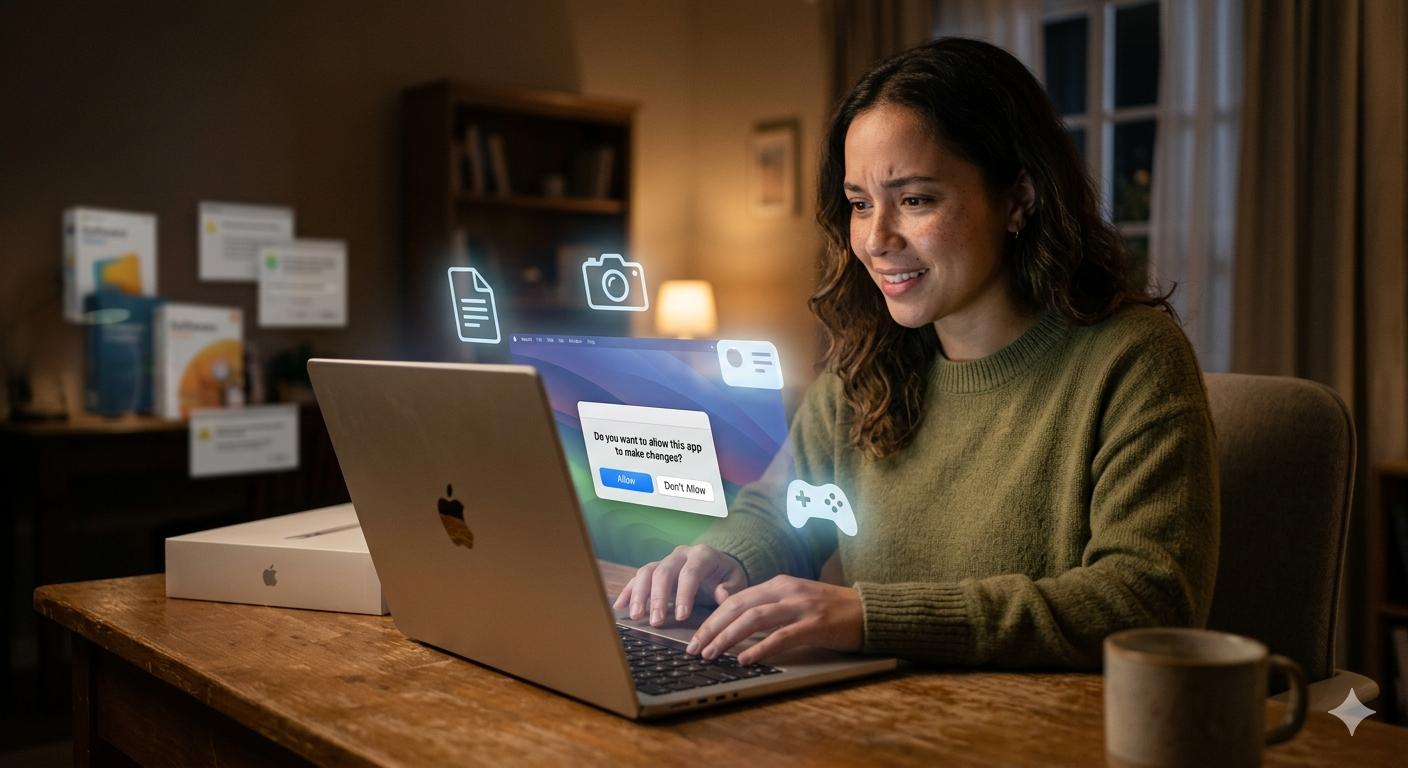
Let’s be honest for a second. The first time you open a new laptop, it feels like holding a ticket to a new world. But then reality hits. You need Microsoft Word. You need that photo editor. Maybe you want to try that cool new game your friend wouldn’t shut up about.
Suddenly, you’re staring at a screen asking, “Do you want to allow this app to make changes?” and your heart skips a beat.
I’ve been there. In fact, I remember trying to install a printer driver back in college and somehow ending up with three new toolbars in my browser and a weather widget I never asked for. It was a mess. But here’s the good news: installing software today is easier than ever if you know the rules of the road.
Whether you are a complete beginner a senior trying to set up a new machine or just someone who wants to avoid the bloatware traps this guide on how to install software in laptop step-by-step is your safe space. We are going to take it slow, keep it human and make sure you only install exactly what you need.
Ready? Grab your laptop, make sure it’s plugged in (trust me, you don’t want it dying mid-install) and let’s dive in.
Table of Contents
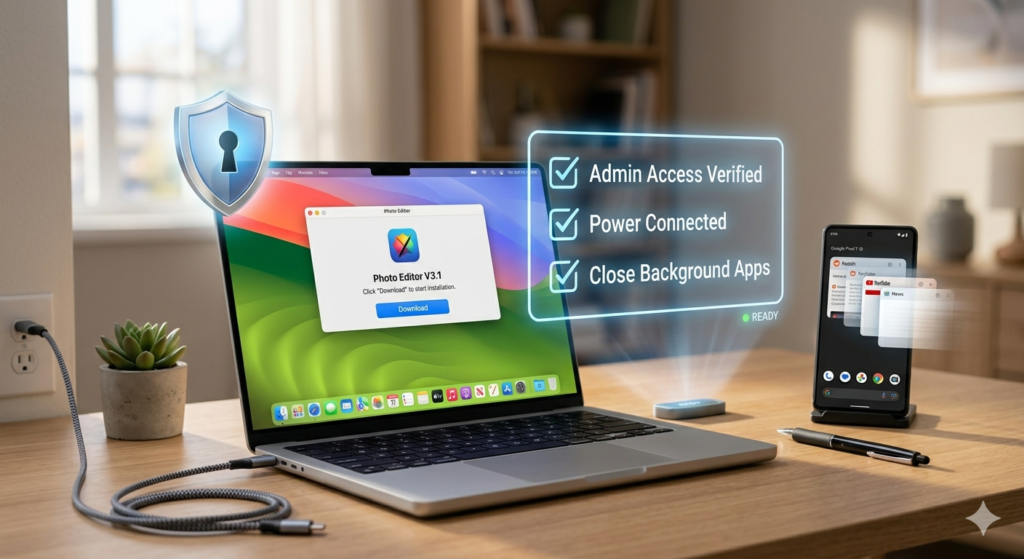
Before You Click “Download”: The Prep Work
Before we even talk about clicking buttons, we need to set the foundation. Installing software isn’t just about clicking “Next” repeatedly. It’s about safety.

1. The Administrator Reality Check
Most modern laptops (Windows 10 and 11) require you to have “Administrator” rights to install software. If this is your personal laptop, you are the admin. If this is a work laptop you might need to ask your IT department for a password. If you see a pop-up asking for a password you don’t have, stop you aren’t doing anything wrong. you just don’t have permission.
2. Power Cord > Battery
Software installation usually doesn’t drain your battery too much, but if the installation fails halfway because your laptop died, you can corrupt system files. Plug it in. It’s a simple step that saves a massive headache.
3. Close Your Browser Tabs (Yes, all of them)
I know you have 47 tabs open. But during installation, especially for large software like Adobe Creative Cloud or video games, your computer needs resources. Closing Chrome or Edge frees up RAM, making the installation smoother and faster.
Step 1: Where to Find the Software (The Safe Way)
This is the most dangerous part of the process. If you mess up here, the rest doesn’t matter. You might end up with viruses, adware or “crapware.”
The Golden Rule: The Official Website is Your Only Friend
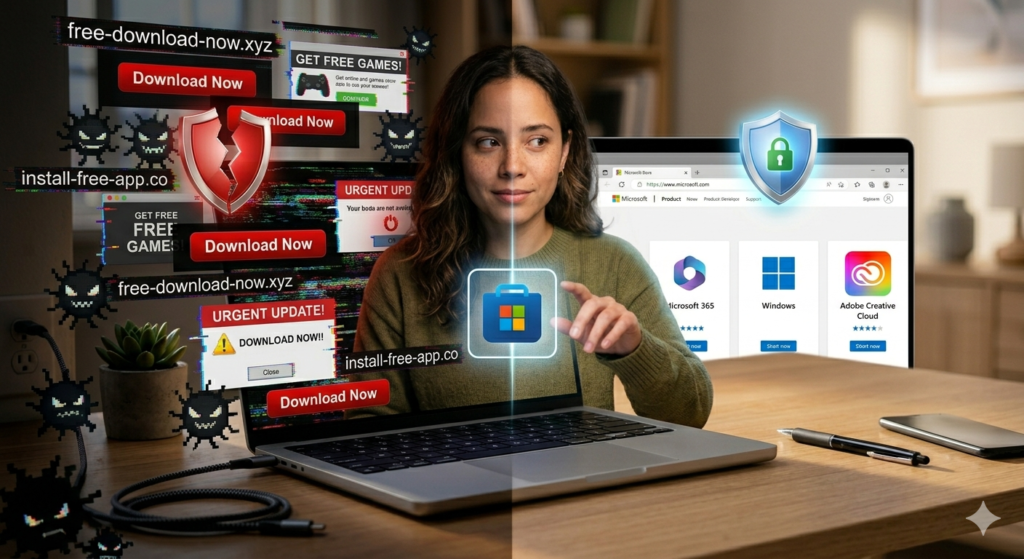
When you search for “How to install software in laptop step-by-step,” the first thing you see is usually a Google Ad for a “Free Download Manager” that is actually malware. Ignore the ads.
- For Microsoft Office: Go to microsoft.com
- For Adobe Photoshop: Go to adobe.com
- For Zoom: Go to zoom.us
Pro Tip: Look at the URL in the address bar. If it says download-free-software[dot]com run away. If it has a little lock icon and the name of the company you actually want to buy from, you’re safe.
The Microsoft Store Alternative
If you are nervous about navigating websites, Windows 10 and 11 come with the Microsoft Store (the blue shopping bag icon).
- Pros: It’s 100% safe. No viruses. No hidden toolbars.
- Cons: Not every program is available here (for example, Google Chrome isn’t there, though you can get it from Google’s site).
For absolute beginners, I recommend starting with the Microsoft Store for simple apps like Netflix, Spotify or basic games.
Step 2: The Download – .EXE vs. .MSI
Once you click “Download” on the official site. you usually get a file. Most of the time, it’s called an .exe file (executable). Sometimes it’s an .msi file (Microsoft Installer).
- .exe: This is a flexible installer. It often downloads more files from the internet during the setup.
- .msi: This is a corporate-style installer. It usually contains everything inside it and is often used for business software.
Where do these files go?
By default, they go into your “Downloads” folder. You can access this by opening File Explorer (the folder icon on your taskbar) and clicking “Downloads” on the left sidebar.
Step 3: The Installation Process (The Main Event)
This is the heart of our how to install software in laptop step-by-step guide. You’ve double-clicked the file. Now, a window pops up. Here is what every single screen usually means.
The UAC Popup
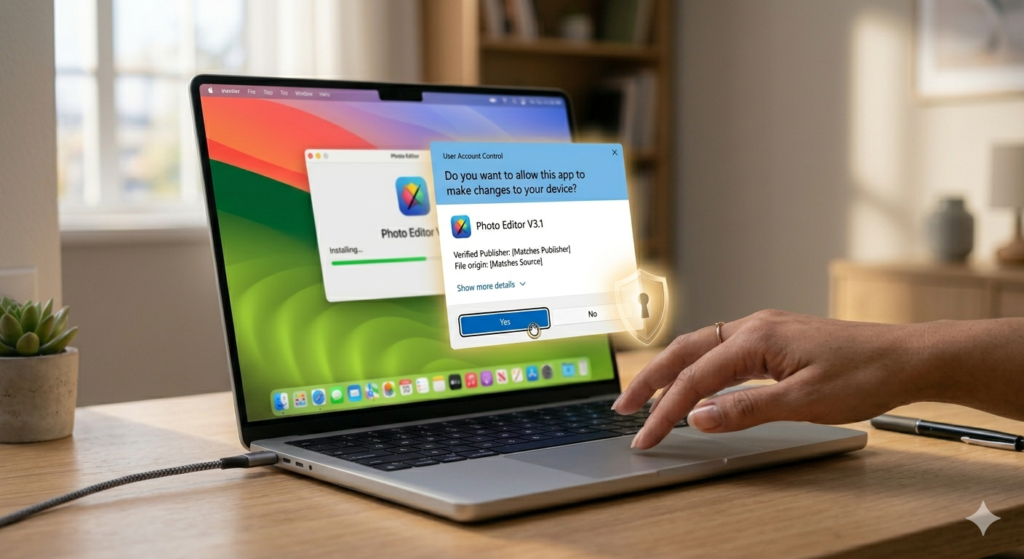
You will see a blue or yellow box asking: “Do you want to allow this app to make changes to your device?”
This is User Account Control (UAC) . It’s a security guard.
- If you trust the software: Click Yes.
- If you didn’t initiate this: Click No and run a virus scan immediately.
Screen 1: The Setup Language
Most installers ask which language you prefer. Usually, English is selected by default. Click OK.
Screen 2: The License Agreement
Nobody reads this. I don’t read this. But you must scroll to the bottom before the “Accept” button lights up. It’s a legal requirement.
- Look for: Checkboxes that say “I accept the agreement.”
- Warning: Sometimes, buried in this agreement is a line that says they will install a toolbar or change your homepage. If you scroll through and see that, you might be dealing with “bundled” software. Proceed with caution.
Screen 3: Installation Type (The “Custom” Trap)
This is where most people mess up.
You will usually see two options:
- Express / Typical / Standard (Recommended)
- Custom / Advanced
Which one to choose?
If you are a beginner, choose Custom or Advanced. I know it sounds scary, but “Express” usually hides the bloatware.
When you click Custom, look for small checkboxes that say:
- “Install [Name of Antivirus]” (Uncheck this if you already have one)
- “Make Bing my default search engine” (Uncheck this)
- “Install McAfee Web Advisor” (Uncheck this you don’t need it)
By choosing Custom, you take control. You say, “I want the program but I don’t want the extra junk.”
Screen 4: Destination Folder
This asks: “Where do you want to install this?”
The default is usually C:\Program Files\ [Software Name].
- Leave it as is. Unless you have a specific reason to install it on a different hard drive (like a D: drive for games), don’t change this. Windows expects programs to be in “Program Files.”
Screen 5: Start Menu & Desktop Shortcuts
The installer will ask if you want shortcuts.
- Create a desktop shortcut: I always check Yes. It puts an icon on your main screen so you don’t have to hunt for the program.
- Create a Quick Launch shortcut: This is old technology; you can usually leave it unchecked.
Screen 6: The Actual Installation
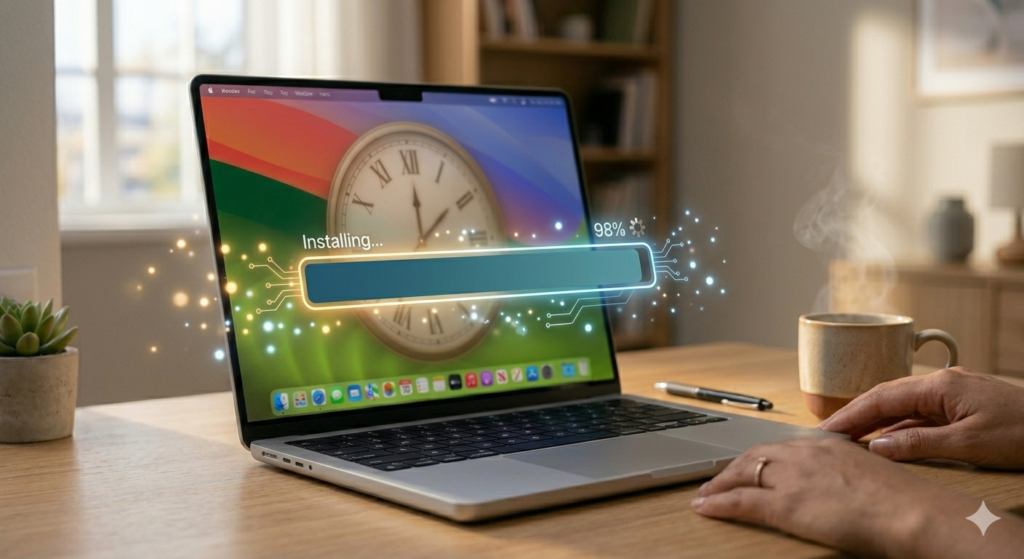
Now you wait. You’ll see a progress bar. This can take 30 seconds for a small app like 7-Zip or 30 minutes for a massive game like Call of Duty.
Do not interrupt this. Even if it looks frozen, wait. If you close the window or restart the computer during this phase, you can corrupt the installation.
Step 4: Post-Installation – The “Finish” Line
The final screen usually has a few checkboxes. This is where the sneaky stuff happens.
Uncheck “Launch Program”
Usually, there is a box checked that says “Launch [Software] now” or “Show Release Notes.”
- Uncheck it. I know you want to use the program, but hold on.
- Also, uncheck anything that says “Subscribe to newsletter” unless you actually want spam.
Click Finish
That’s it. The installer window closes.
Restart Your Computer
Sometimes the software will ask you to restart. If it asks, do it. If it doesn’t ask, it’s usually fine to keep working, but a quick restart never hurts. It clears the temporary files used during installation.
Step 5: Verifying the Installation
Now that you’ve followed the how to install software in laptop step-by-step guide, let’s make sure it actually worked.
- Look at the Desktop: Do you see the icon? Double-click it. If it opens, you’re golden.
- Check the Start Menu: Click the Windows logo. Scroll down to the alphabetical list. Find the folder for your new software.
- The Taskbar: If you plan to use this software daily (like Chrome or Word), right-click the icon when it’s open and select “Pin to taskbar.” This keeps it at the bottom of your screen for easy access.
Special Scenario: How to Install Software from a CD/DVD
I know, laptops don’t really have disc drives anymore. But if you have an external DVD drive or an older laptop, here’s the deal:
Insert the disc.
- If “AutoPlay” pops up, click Run Setup.exe.
- If nothing pops up, go to File Explorer > This PC > Right-click your DVD drive > Open > Find a file named Setup or Install.
- Warning: Physical discs are often outdated. The software on the disc might be 5 years old. If the disc installs, immediately check the manufacturer’s website for “updates” or “patches” to ensure you have the security fixes.
Special Scenario: Installing “Portable” Software
Sometimes, you don’t want to “install” anything. You might just want a tool to use once and then delete it.
Some software comes as “portable.” You download a folder, open it and double-click the .exe inside. There is no installation process. This is great for tools like:
- CCleaner (cleaning tool)
- Audacity (audio editor though it has an installer version too)
The benefit? It doesn’t clutter your registry or Program Files. The downside? It won’t appear in your Start Menu.
Common Installation Problems (And How to Fix Them)
Even when you know how to install software in laptop step-by-step, things go wrong. Here’s how to stay calm.
Problem 1: “This app can’t run on your PC”
This usually means you downloaded the 64-bit version for a 32-bit machine or vice versa.
- Fix: Go back to the website and look for “32-bit download” or “64-bit download.” If your laptop is older (more than 8 years old), try the 32-bit version.
Problem 2: “Error 1603” or “Fatal Error”
This usually means a previous installation failed and left “junk” behind.
- Fix: Restart your laptop. Often a fresh start clears the temp files causing the conflict.
Problem 3: The Installer Freezes at 99%
Fix: Do not close the window. Wait 10 minutes. Sometimes it is verifying files in the background. If it truly freezes, restart your laptop and run the installer again as Administrator (right-click the .exe file > Run as administrator).
How to Uninstall (Just in Case)
Sometimes, we install something and realize it’s garbage. Or maybe we accidentally installed that toolbar I warned you about earlier.
Here’s the clean way to remove software:
- Windows 11: Right-click the Start button > Settings > Apps > Installed Apps.
- Windows 10: Start Button > Settings > Apps > Apps & Features.
Find the program. Click the three dots (or the program name) and click Uninstall.
Warning: Do not just delete the desktop icon. That doesn’t remove the software. You must use the Settings menu or the “Add/Remove Programs” tool in the Control Panel.
The “Golden Rules” for Safe Software Installation
Let’s wrap up the actionable part of this how to install software in laptop step-by-step guide with some rules to live by:
- Rule 1: Trust No One. Always choose “Custom Installation” to see what’s hiding behind “Express.”
- Rule 2: Read the Checkboxes. Uncheck offers for antivirus trials, browser toolbars, and “performance optimizers.”
- Rule 3: Avoid “Download Managers.” If a website tries to make you install a “Download Manager” to get your file, leave the site. That’s usually malware.
- Rule 4: Keep Windows Updated. Windows updates often include updates to the installer service itself. If you can’t install anything, check for Windows updates first.

1 Comment
Pingback: USB Device Not Showing in PC? – 7 Proven Fixes